Wow – As I continue building my bamboo fly rod, I am developing a deeper appreciation for the “The art of craftsmanship”. Like many things in life – “doing it” – brings so much more meaning to “it”. I am experiencing just that in building my bamboo fly rod. I always heard many people from woodworkers to quilters call their craft an art. I now get it at a much deeper level – If your a craftsman your are an artisan.
Many anglers talk about the joy of catching a fish on their own flies! As I my progress on crafting my bamboo rod – I am beginning to anticipate the feeling of catching a fish on my bamboo rod. However, as you see, I may be getting ahead of myself – as I have many steps remaining on my bamboo rod before I can literally head to the river.
With the last few days I have taken my bamboo from planed split pieces to a rod blank!
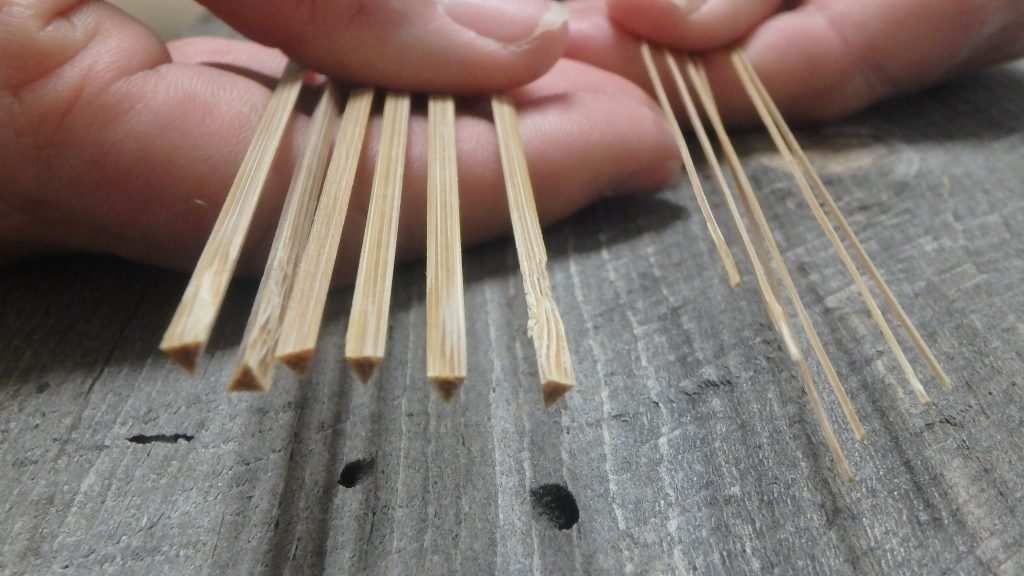
The split pieces prior to gluing!
My bamboo rod blank – is now two solid pieces!
To get from the split pieces to the rod blank – was simply a matter of gluing up as they say! I say. It was a bit more than that! My first steps was to mix up the mixture to create the glue and then apply the glue. Reminded me more of a home economics class than a wood shop class. The mystery process is rolling up the laid out glued-up pieces of bamboo into its hexagonal shape! Pictures can’s capture that. From there it’s the sticky mess of hand tying a few strings to hold the pieces together and then manual wrapping string up the entire piece, prepping for the binder.
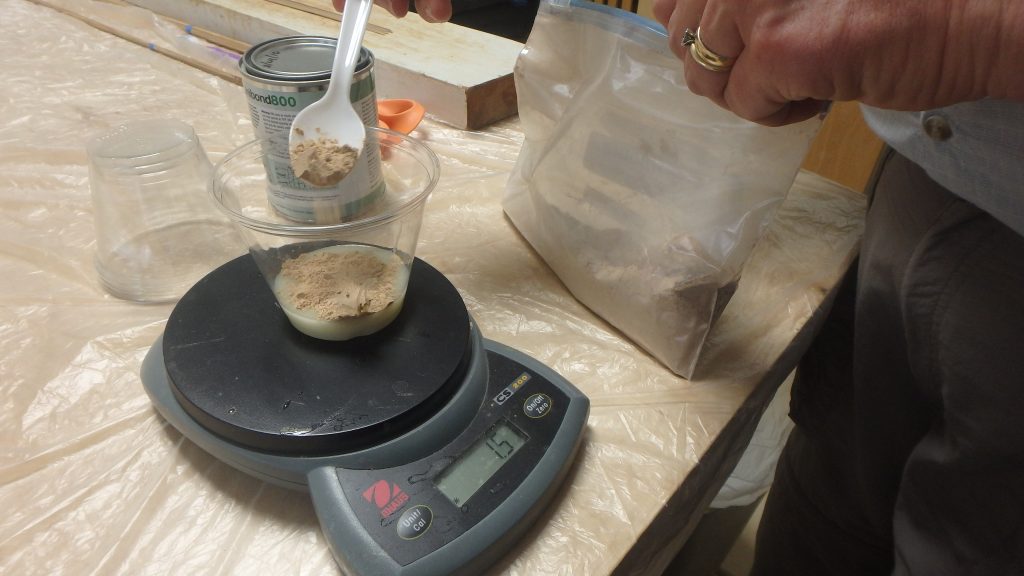
Mixing up the glue! Precise measurements!
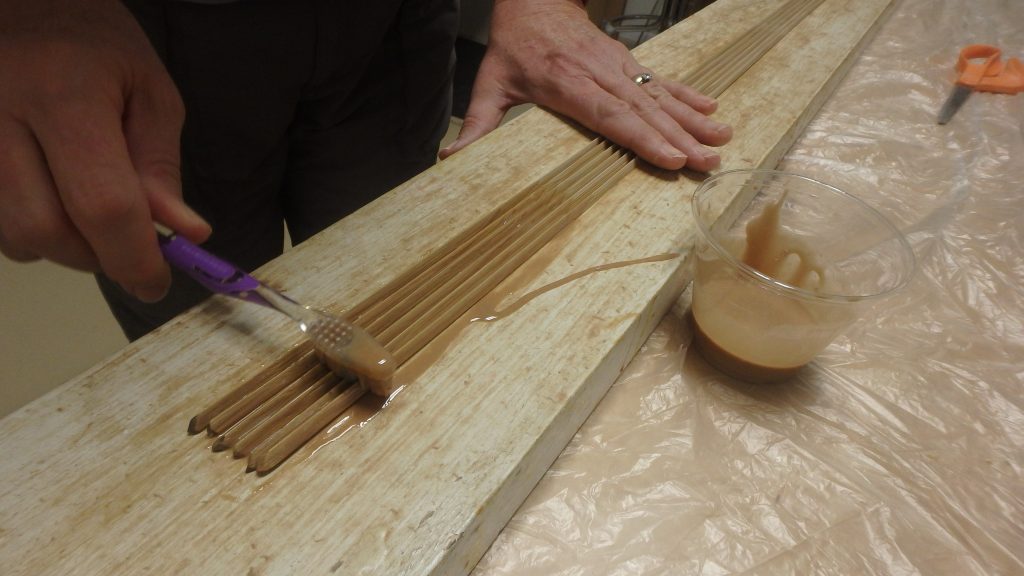
Yes that’s a toothbrush I used to apply the glue! Sometime it isn’t all high Tech!
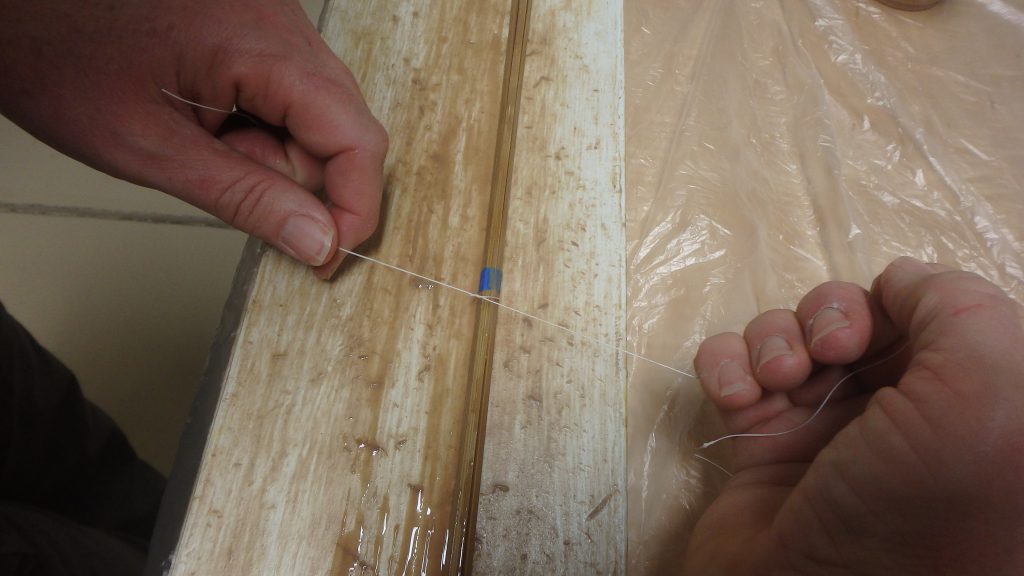
Stringing it up to create the blank!
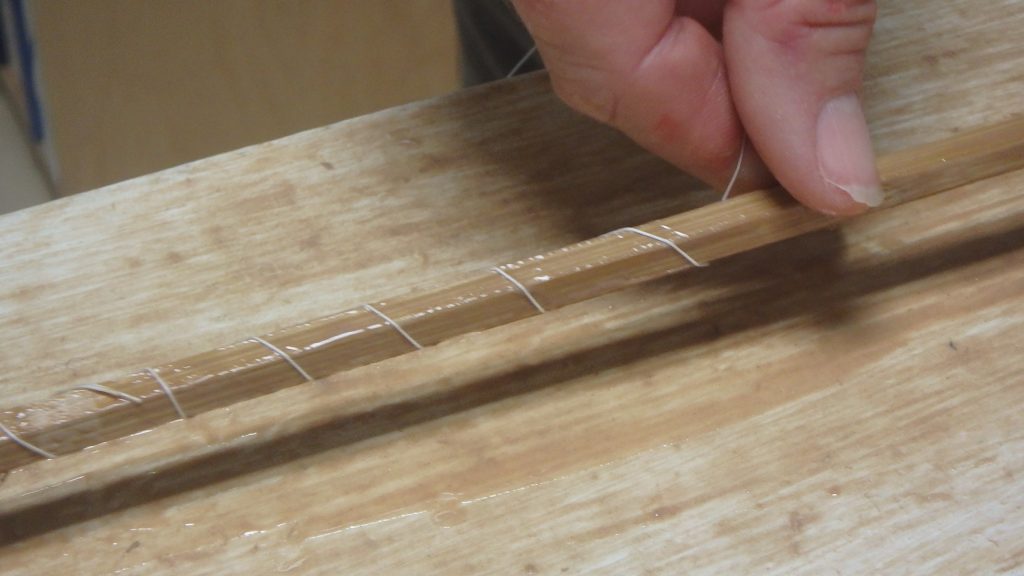
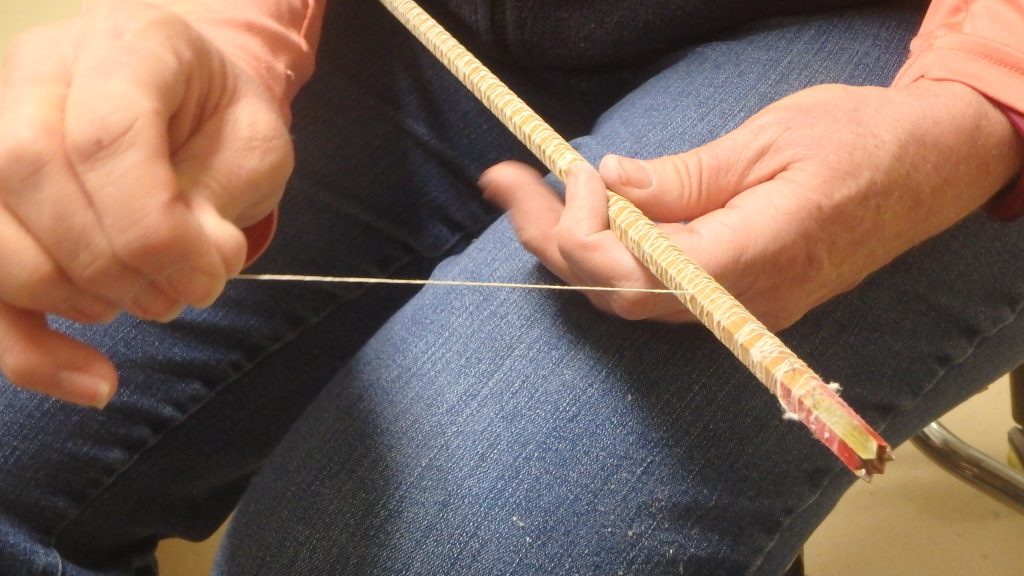
Hand-wrapping a string the entire blank – in prep for the binder
After a clean-up of the hands – yes the glue is gooey! I stepped over to the binding machine to wrap the blank multiple times. The value of the binder is the tight wraps you get on the rod blank to maintain your taper and minimize any chance of glues lines between the 6 pieces.
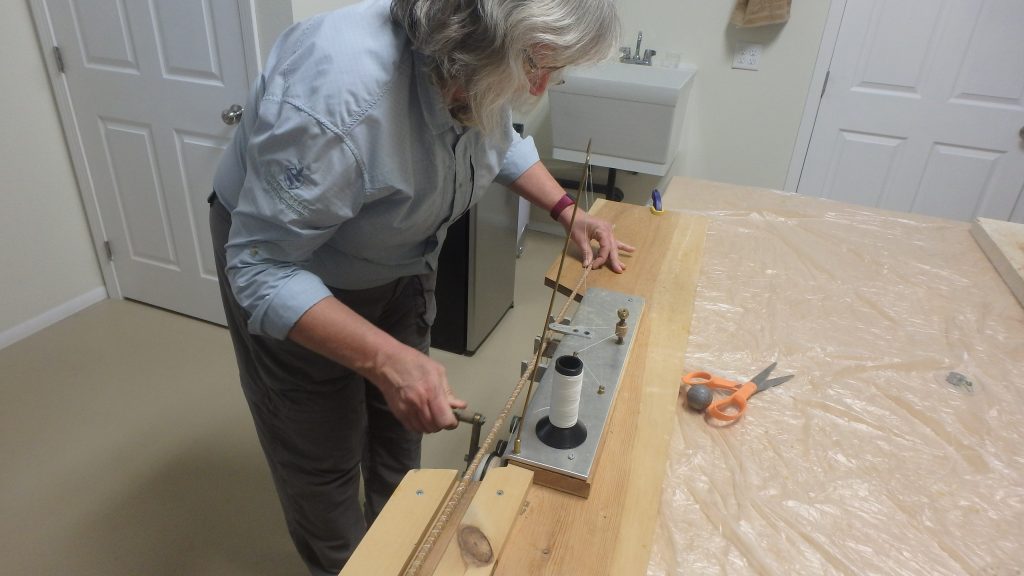
The binder – yes an interesting gizmo
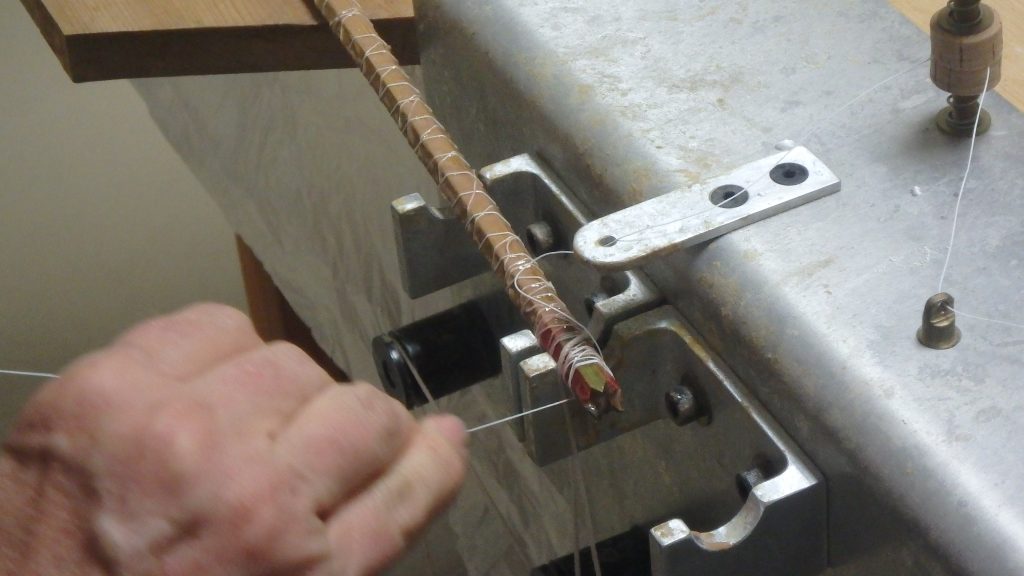
A close-up as I get ready the run the blank through the binder another time.
From there it was place the two rod pieces, butt and tip, into a warm dust free place to dry for a couple of days. So now to the fun of undoing the binding string and dried glue from the outside of the rod. Yes put the process in reverse – first take off of the binding strings and then another “zen” process of filing and sanding the glue residue off.
Manually – unwrapping the binding strings
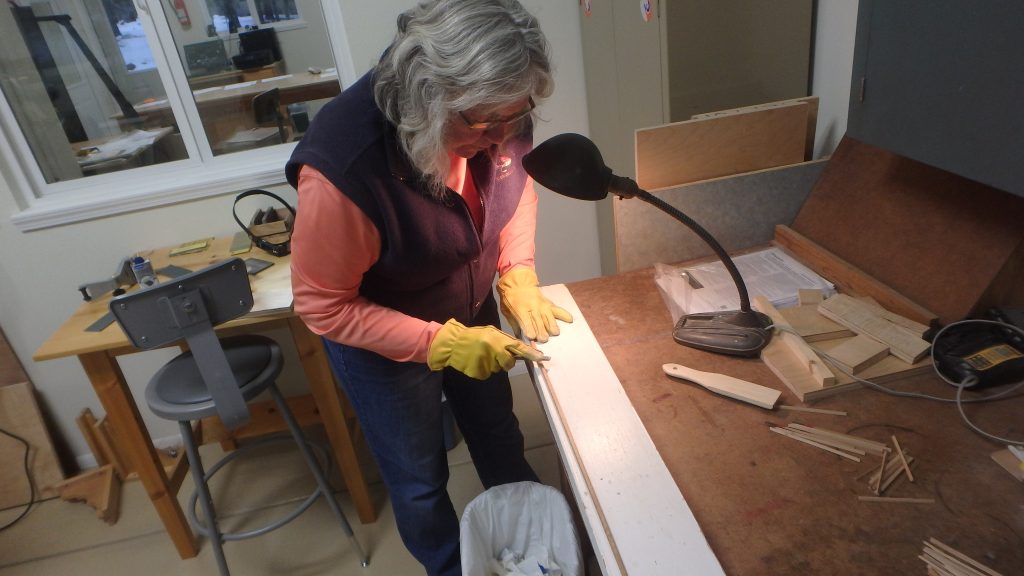
Gently & carefully filing off the glue residue. All of the residue has to be removed.
My rod building mentor, Dave, doing one of his many quality control checks. This time is all the glue residue gone?
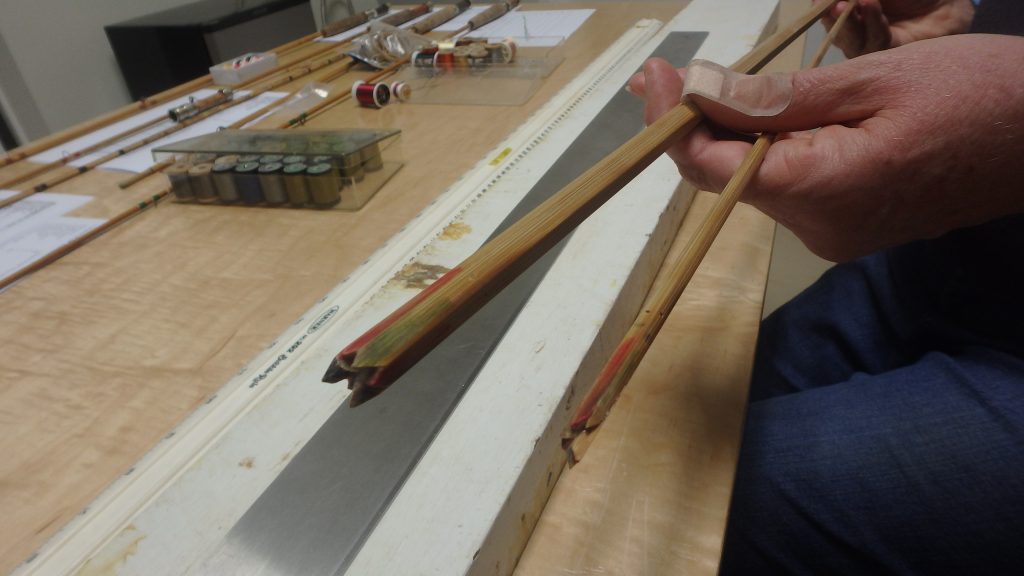
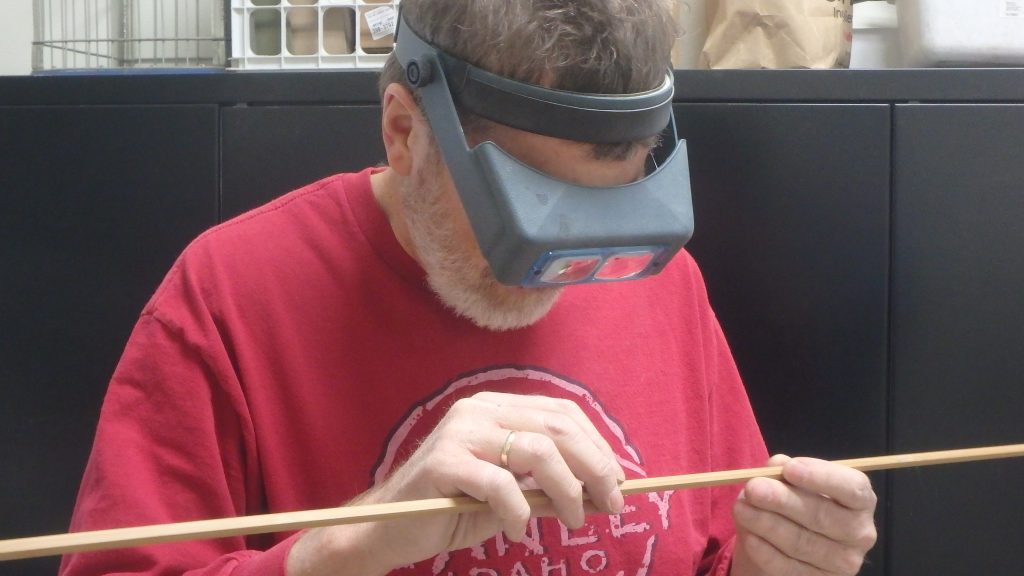
Next up just a few more steps to prep the rod for adding the ferrules. One step is to check you rod thickness to make sure your finished product is as your rod taper design sheet prescribes. And then the removing any curvature out of your blank pieces.

Right to spec with .067″ at the tip.
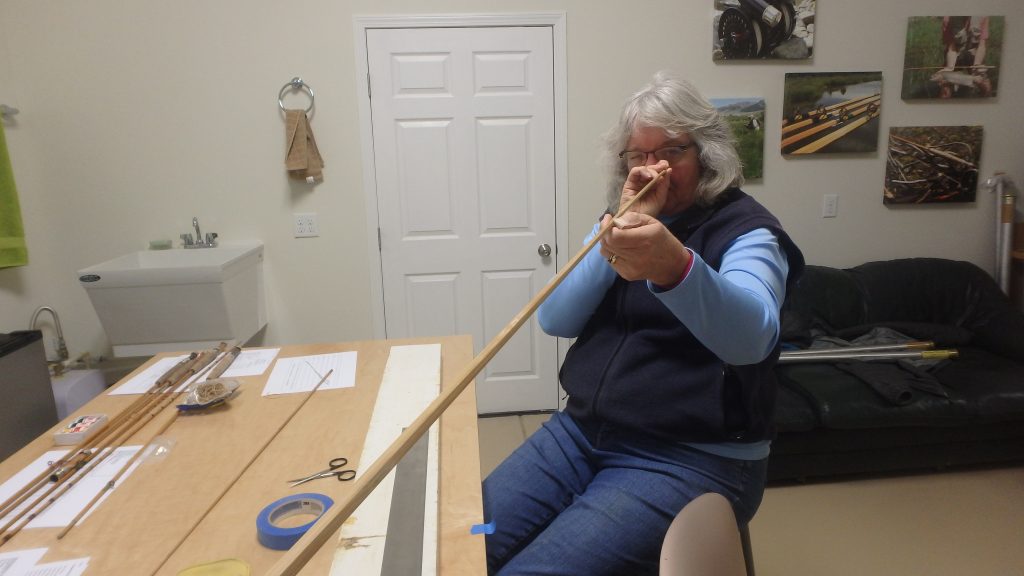
Eyeing it up – is it straight?!

Comments are closed