As you will see by the end of this post – my rod is really looking like a bamboo fly rod. Reminds me a bit of like tying – starting with raw materials and uncertain of what the outcome will be – and with each build step it looks more& more like a fly rod! It definitely does now. After the gluing process – I had a bamboo rod blank! Next up the a series of steps to 1) fit the ferrules, 2) make the grip, and 3) prep the rod for the reel set.
Fitting the Ferrules
The first step was working through some numbers – One making sure I had the proper ferrule size and Two, determine the appropriate cut length for the tip and butt sections. There were lots of short steps to get the ferrules mounting all requiring precision work. The first was the first cut on the bamboo – scary. But really minimal risk if you “measure twice and cut once” I took a photo of the cross section of the rod at this point – I just love the cluster of power fibers you can see – these power fibers are what give bamboo it’s strength and sensitivity. Next, started the hexagonal shape needed to be “rounded” for the round ferrule. Additionally, there was flaring on the ferrule and bamboo to ensure a tight fight – thus distributing the pressure points so as to reduce the chance of breaking at the ferrule. Oh – it hurts to think about a break at the ferrule – but it can happen.
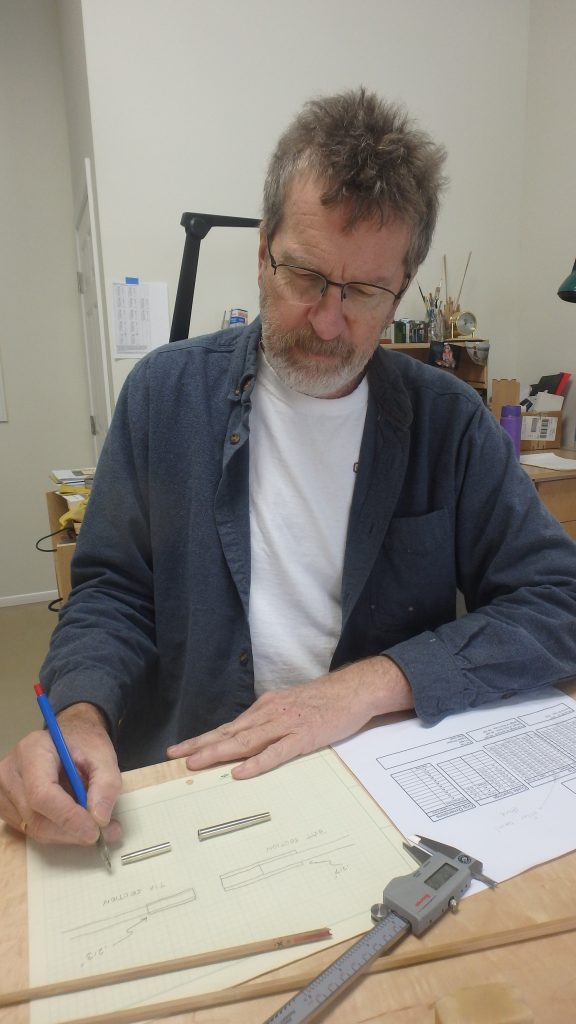
Doing the math – so sort out the points to cut the bamboo blank
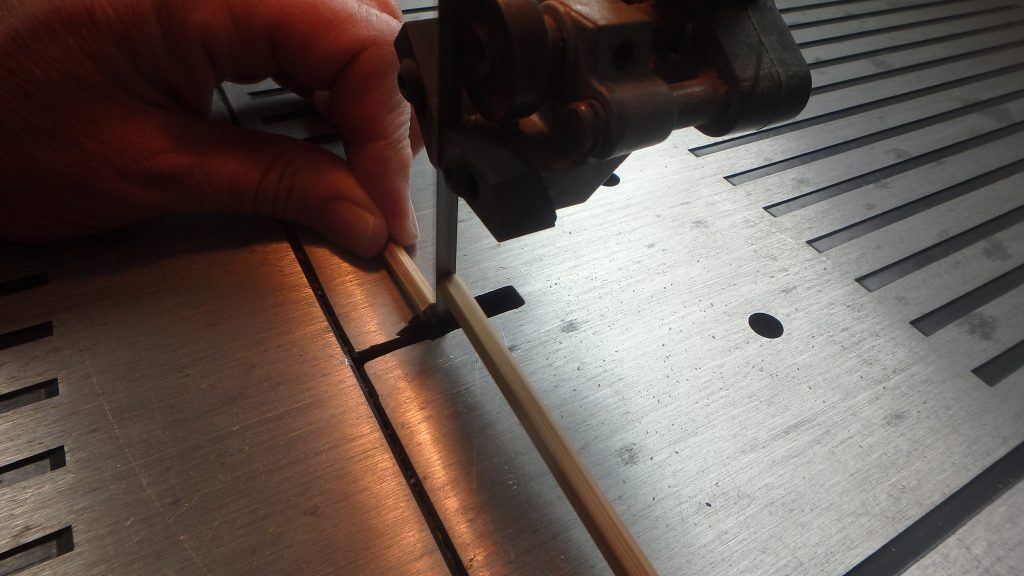
Cutting the rod blank
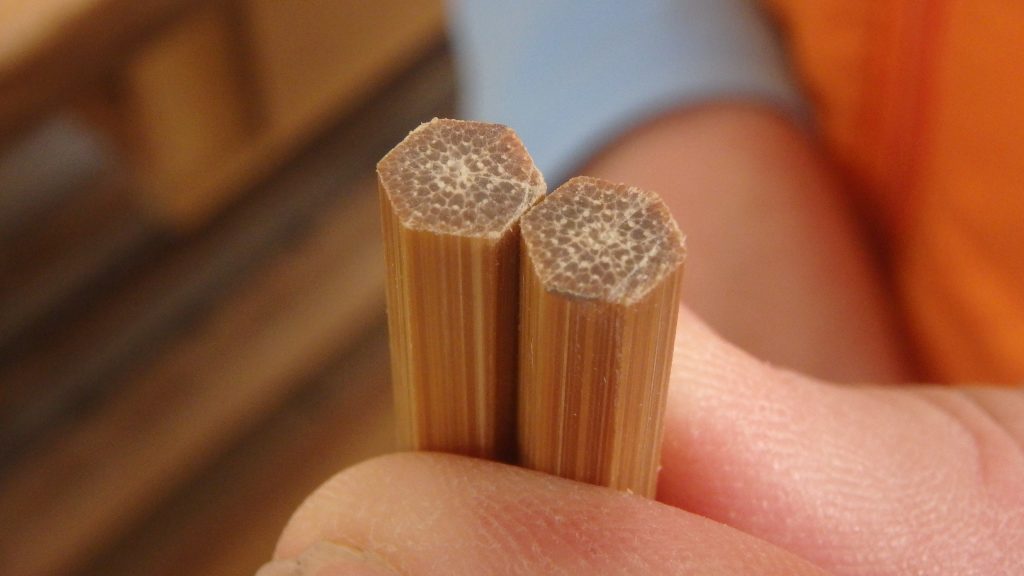
Check out the power fibres – I will always be in awe of strength yet sensitivity of the power fibers.
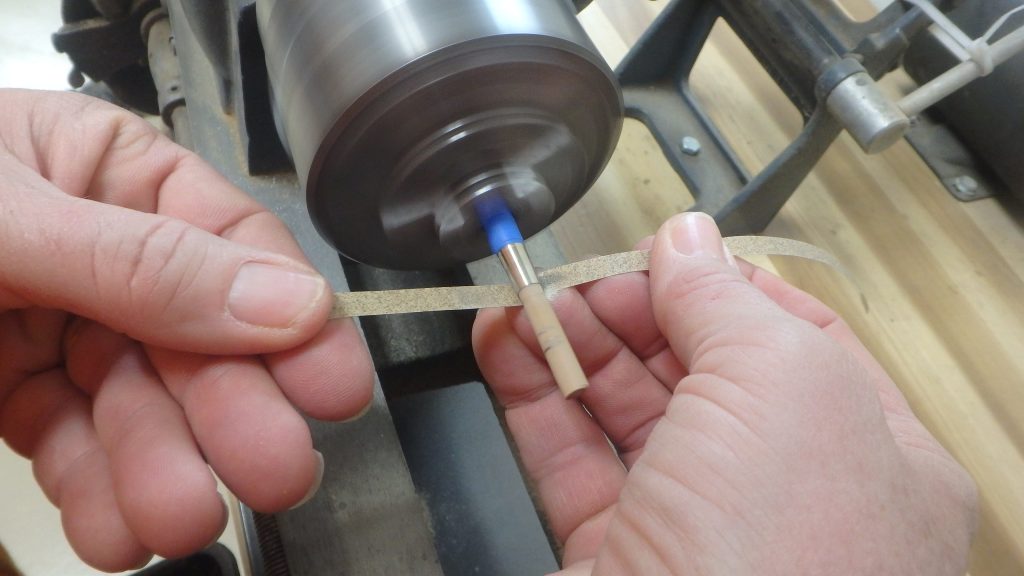
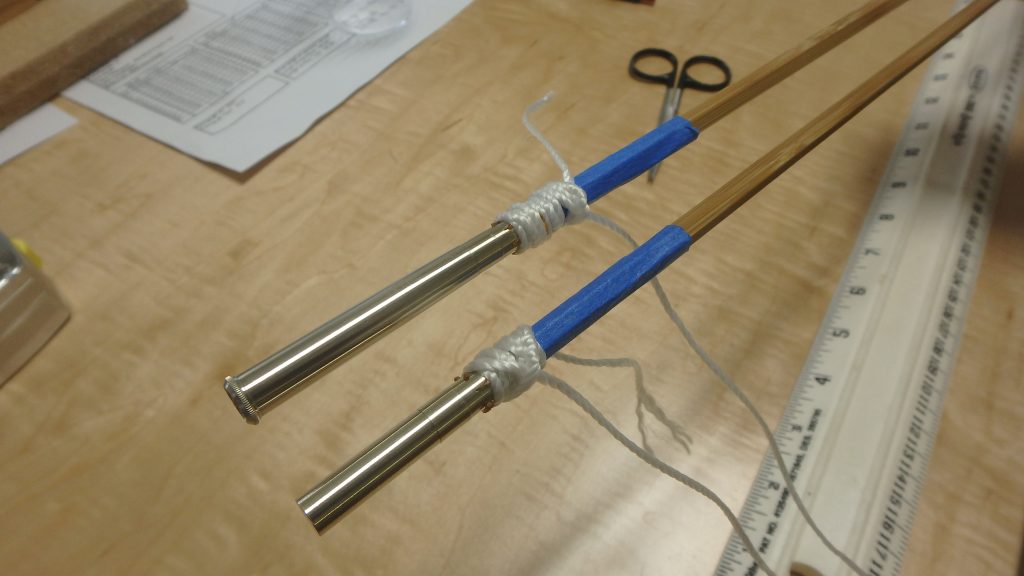
Sanding down the ferrule.
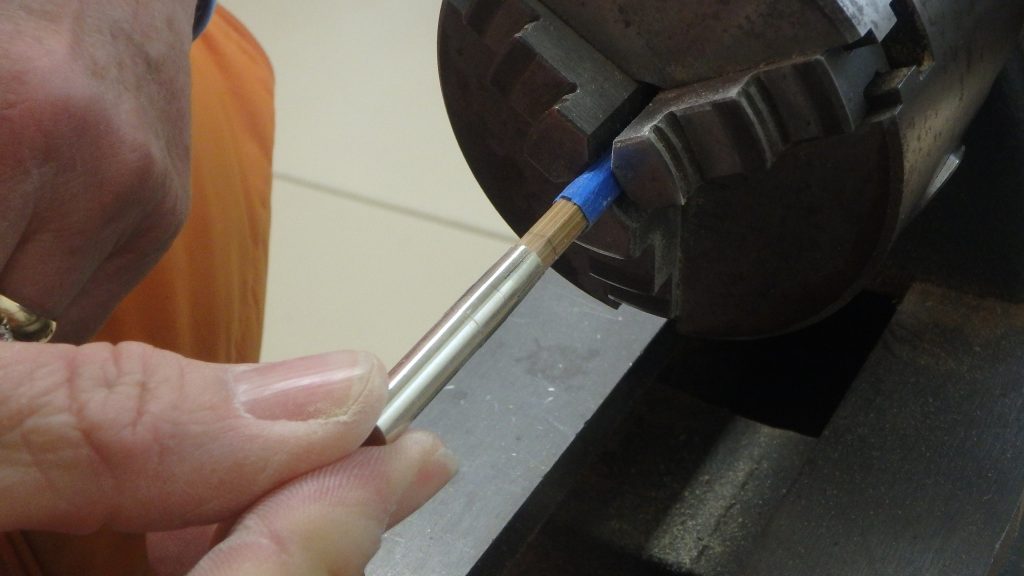
Fitting the male ferrule to the rod
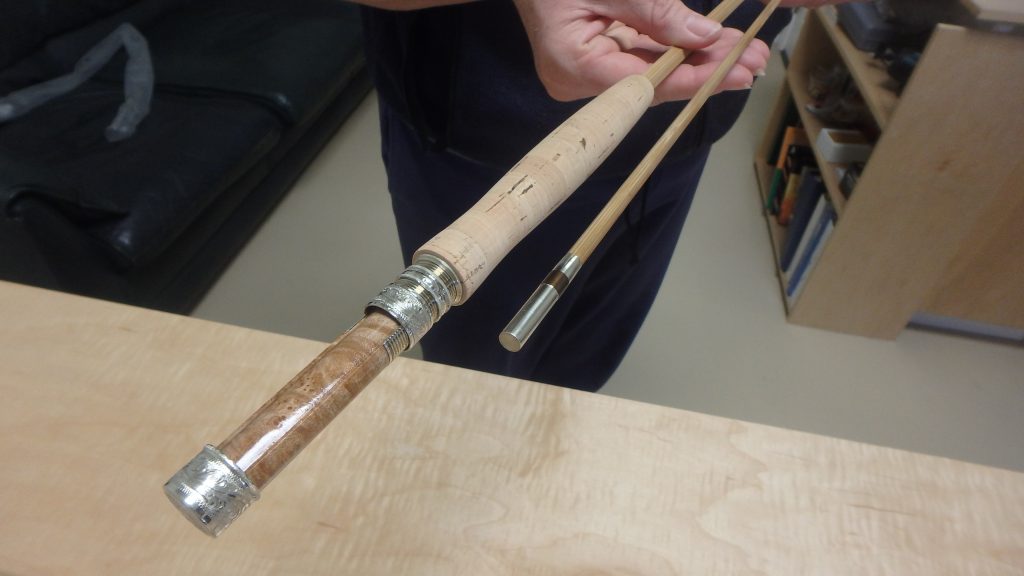
Making the Grip
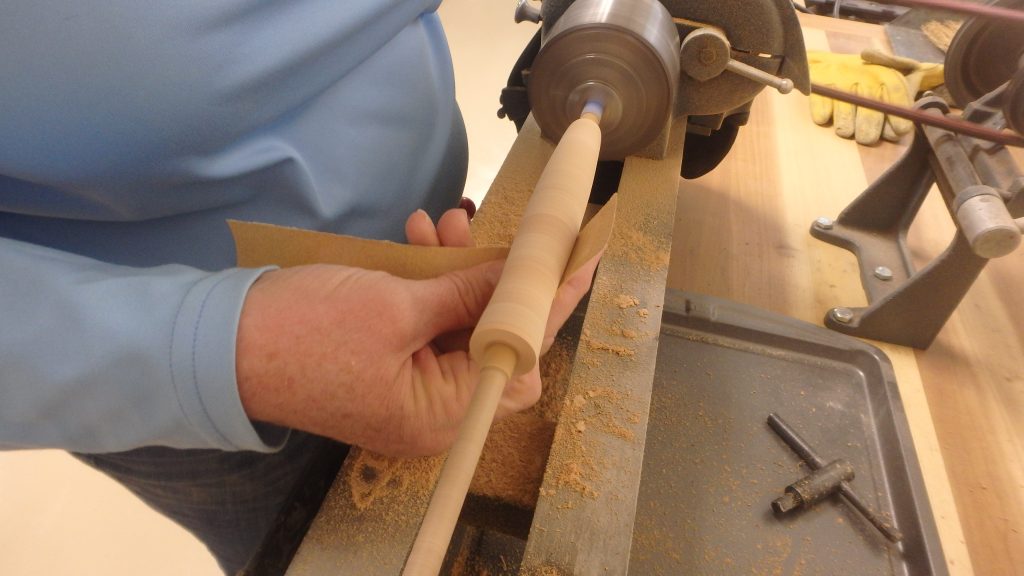
The first step was to pick the 12 cork rings that would be glued together and sanded down to make the grip. Lots of sanding with the lathe to go from the cork rings to the final grip. And of course it fits my hand perfectly. Before the final sanding of the grip, I turned down the hexagonal shape to a round shape that the real seat fits over.
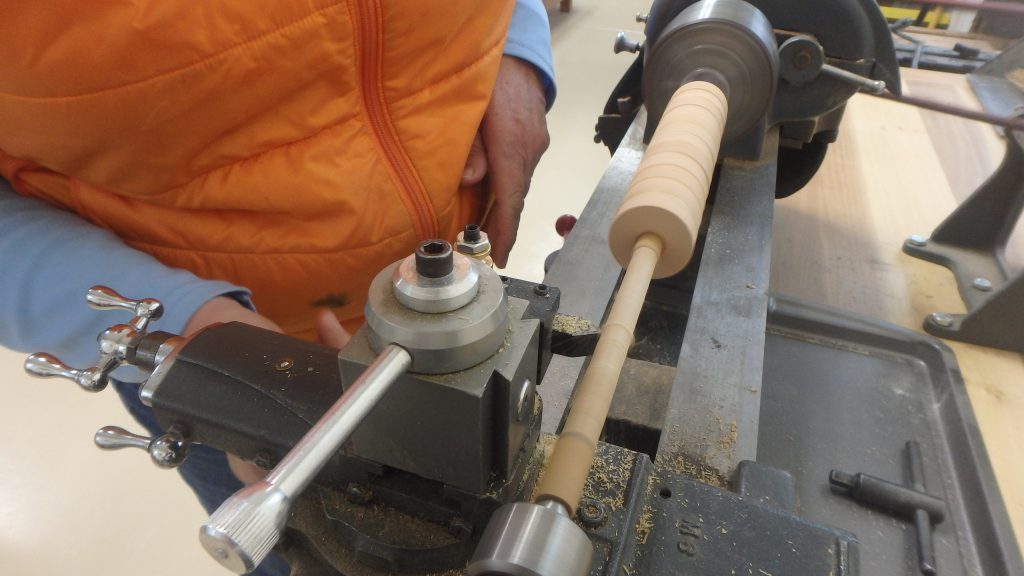
Turning the bamboo rod for the real seat placement.
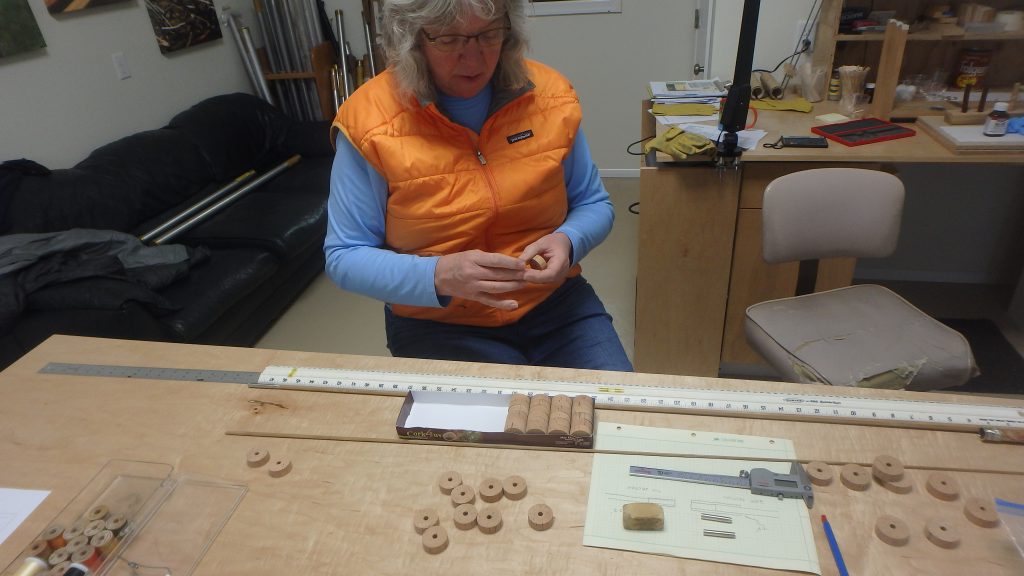
Only the best cork for my rod!
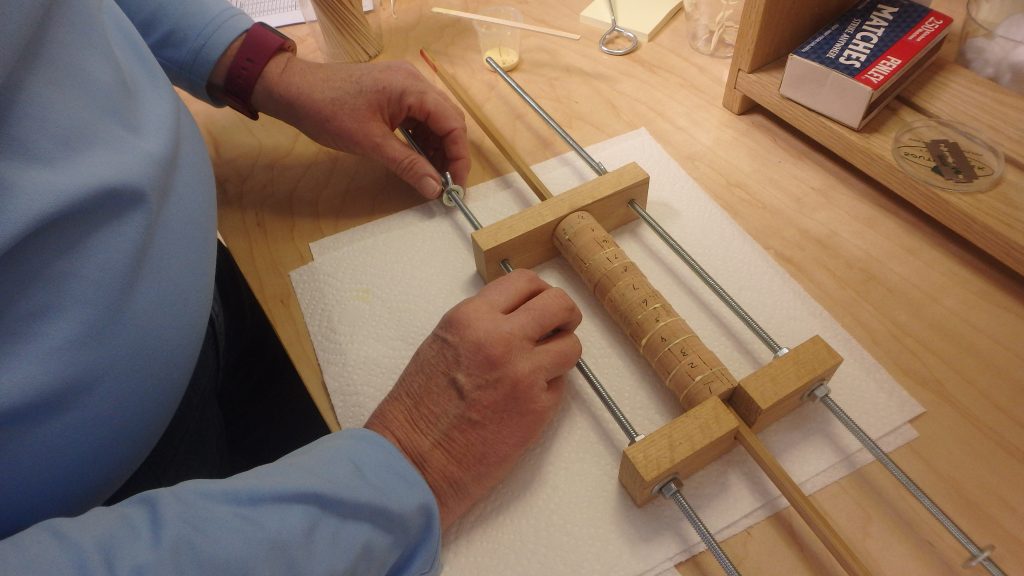
Gluing the cork pieces to the rod butt.
The final sanding to on the grip.
Gluing and Bluing the Ferrules
No elaborate magic here – but a bit unnerving to light the glue to burn off the solvent.
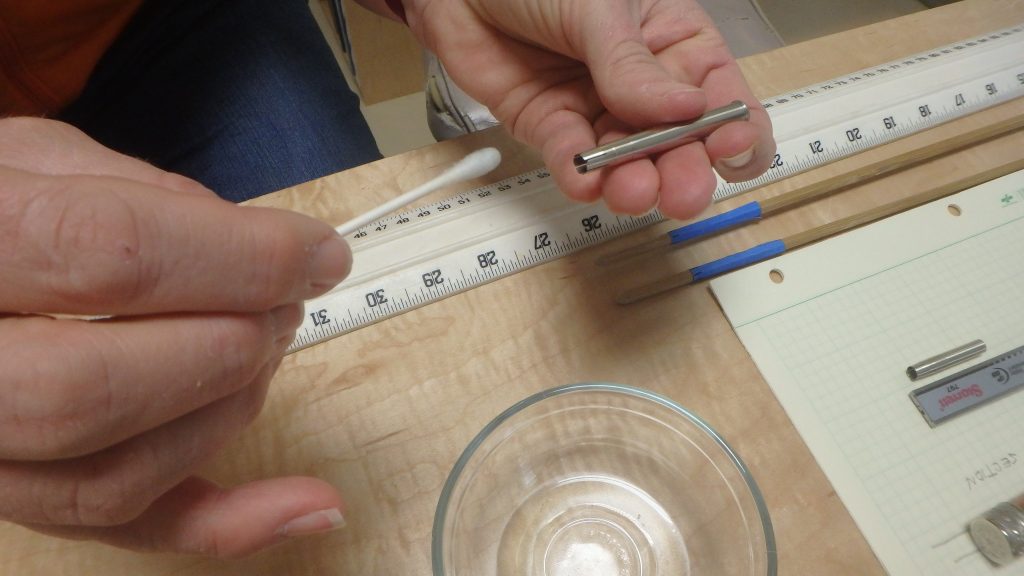
Prepping the female ferrule for glue – cleaning out any dirt and grease.
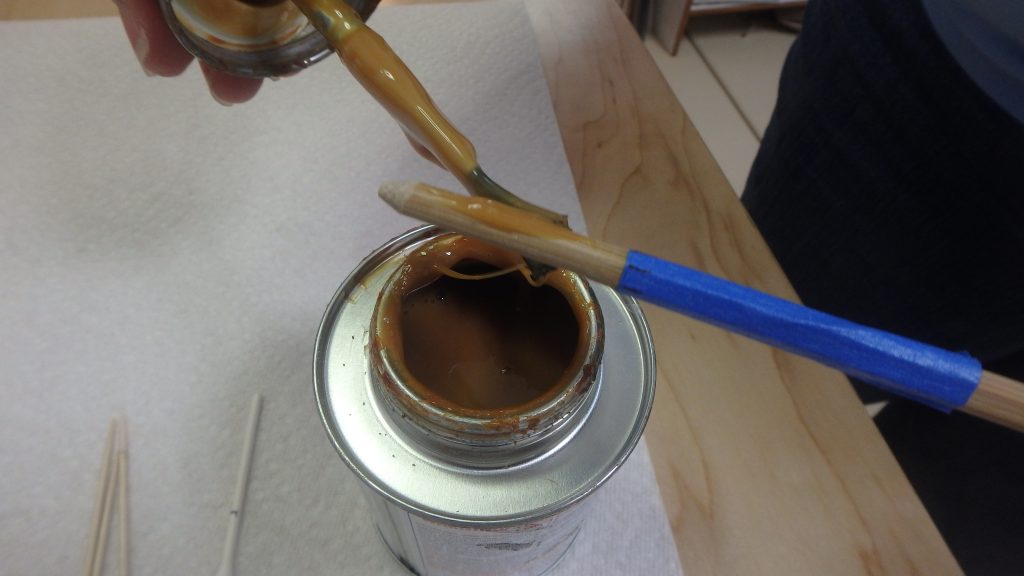
Applying the glue
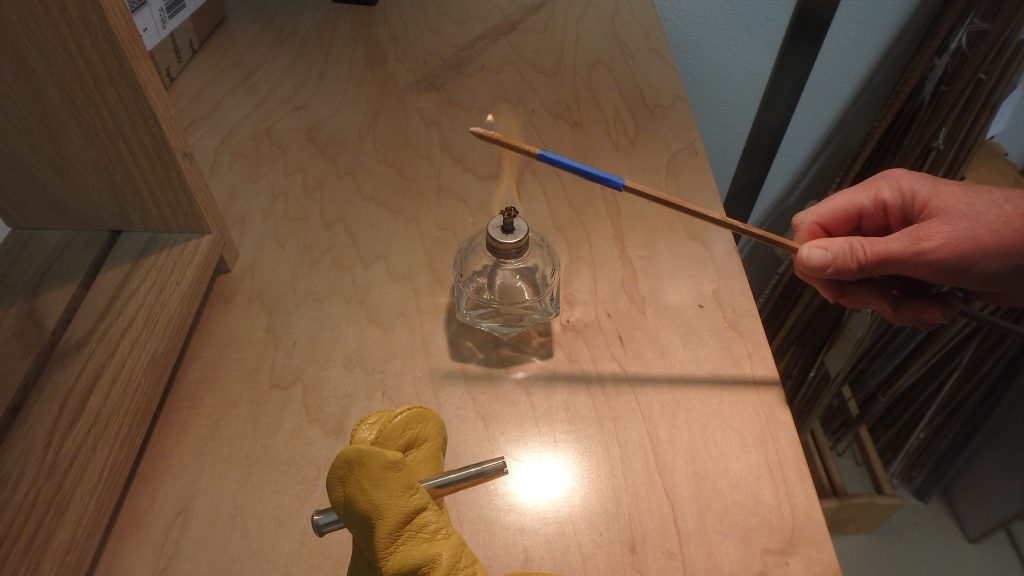
Lighting the glue on fire – just for a second – don’t want to light the rod on fire.
The Ferrules all glued on!
It looks like a Bamboo Fly Rod
What remains? Multiple coats of a rub-on finish and wrapping the guides.
Comments are closed