Today I started my pursuit of hand building my first bamboo fly rod! My husband, Dave, has been building for years, so I am fortunate to have an excellent mentor. If your’re curious about build a bamboo rod check out his website. My goal is to post a blog every day I work on the rod. My goal is to have the rod complete by Christmas – we will see how that goes. I hope you join in to follow my progress and learnings.
The first step of course is to sort out the length, weight, and action of my rod. I have been mulling that over for the last few weeks, yes a difficult decision for me. I landed on building a 8 foot 6 weight rod that is modeled after a Classic Payne Fly Rod. I already have a medium-progressive action 8 foot 6 wt bamboo rod built on a Garrison taper. I love the progressive taper for its smoothness in casting, but I wanted my new rod to be a faster action rod to cast heavier flies in windy conditions. Can’t wait to test it out this May during the Salmon Fly Hatch on the Lower Deschutes. Trust me, I will be chasing bull trout on the Metolius in January!
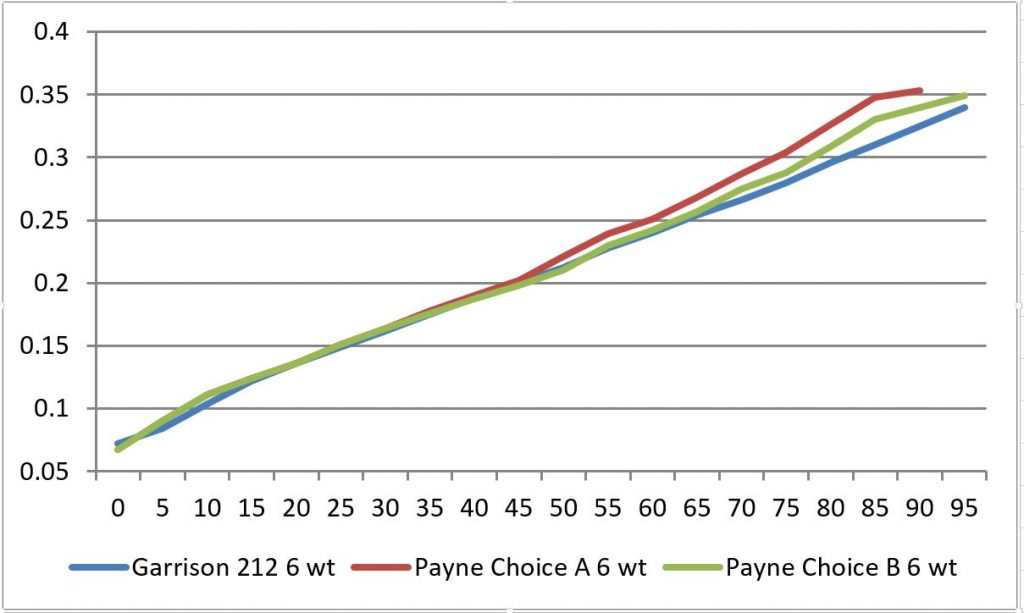
Below is a graph that shows the rod diameter (y-axis) at 5 inch inch intervals (x-axis) with the tip-top on the left progressing to the butt of the rod on the right. I compared two Payne tapers to my Garrison 6 wt. I chose the Payne Choice A as the butt section on this rod is a bit thicker than my Garrison – allowing for bigger flies. It should also be better in the wind with the stronger butt section, allowing me to fight the fish a bit more aggressively in heavier current.
Now that I had chosen a rod length, weight, and taper – I was ready to move to the shop to pick out the specific pieces of bamboo I would use. Such a tough decision – as this determines the look of the rod and degree of consistency in alternating the nodes on the final rod – more on that later. My new rod will be made from two different pieces (culms) of bamboo. The key decision criteria in choosing which two pieces of bamboo was the consistency in color of the two pieces and matching up the distances between the nodes.
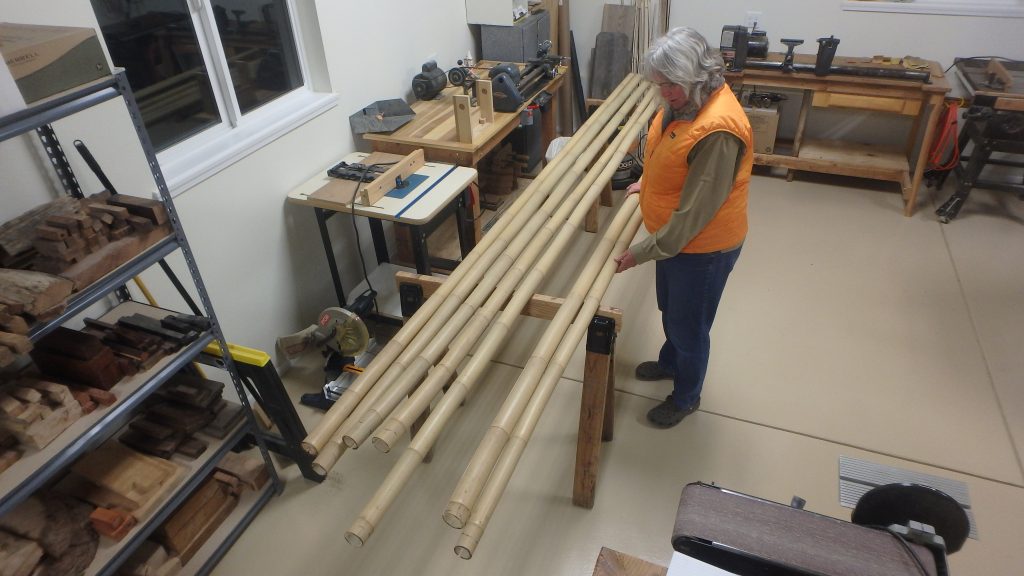
My final selection on the two pieces of bamboo to start with!
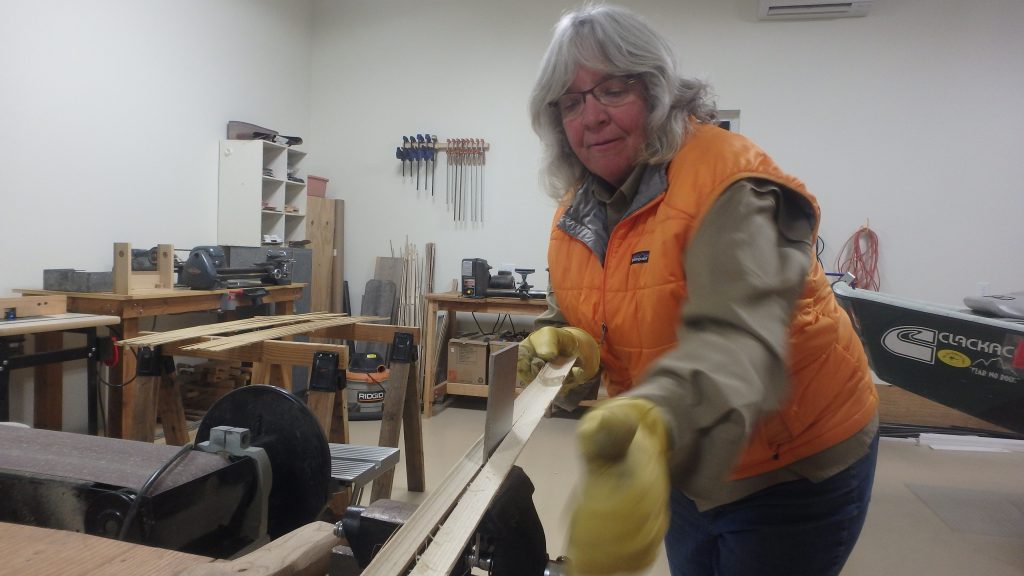
Next up was cutting the bamboo on a chop saw to 55 inches. I had never used a chop saw before – too fun!
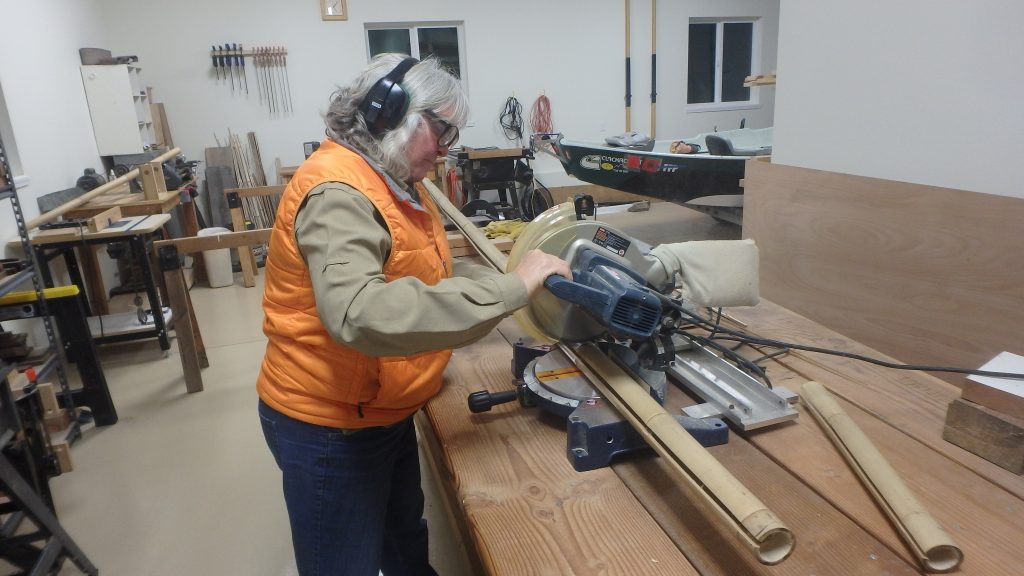
Cutting to 55 inches on a chop saw.
Next was to mark the bamboo for splitting. I used a compass to measure the width of the splits.
Marking the splits
Now to the fun part! Splitting the bamboo! The first step was to split each bamboo section in half! I was a bit tentative on the splitting process – but soon learned it was a fairly straight forward step. Just need to make sure I kept the pieces straight as I split the bamboo on my markings.
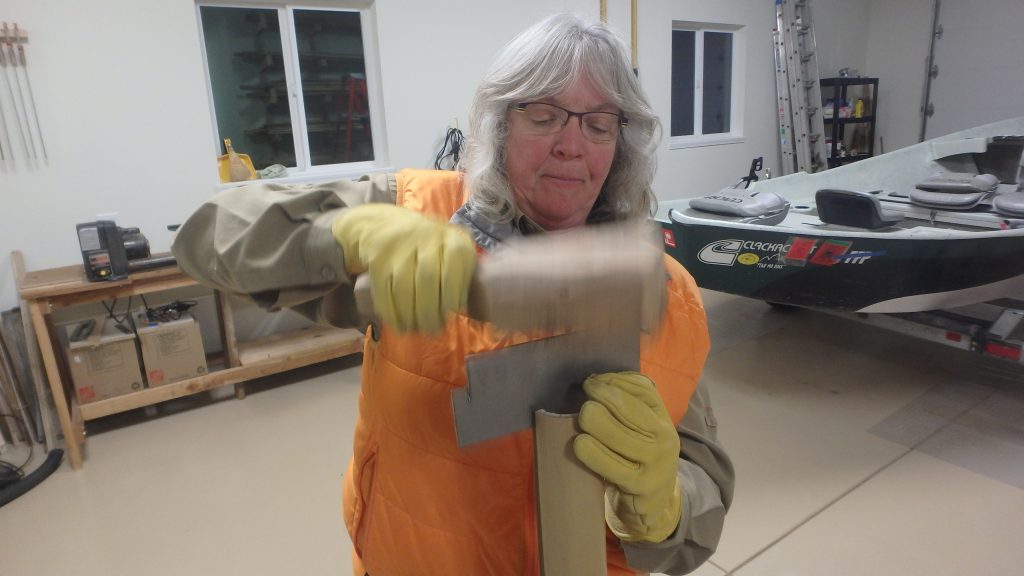
My first “bonk” for splitting the bamboo
Splitting the bamboo in half!
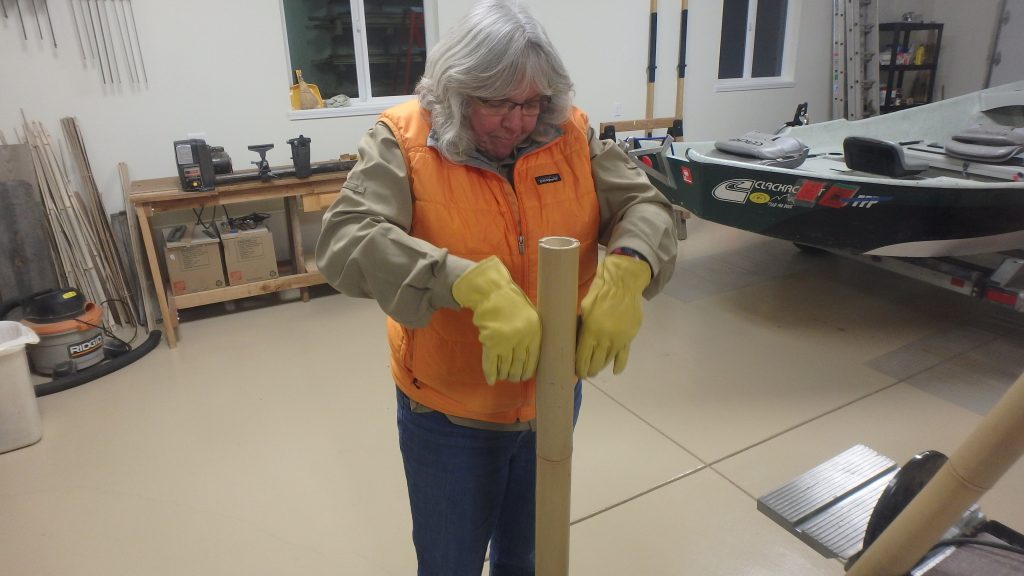
Splitting into smaller pieces
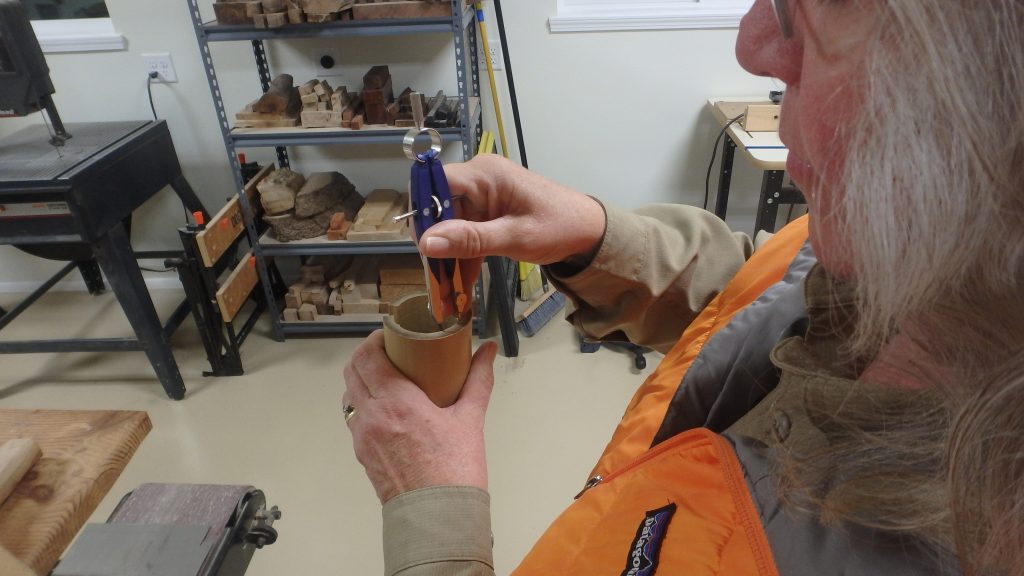
The next step was to remove the interior node residue. That was done with a chisel and mallet!
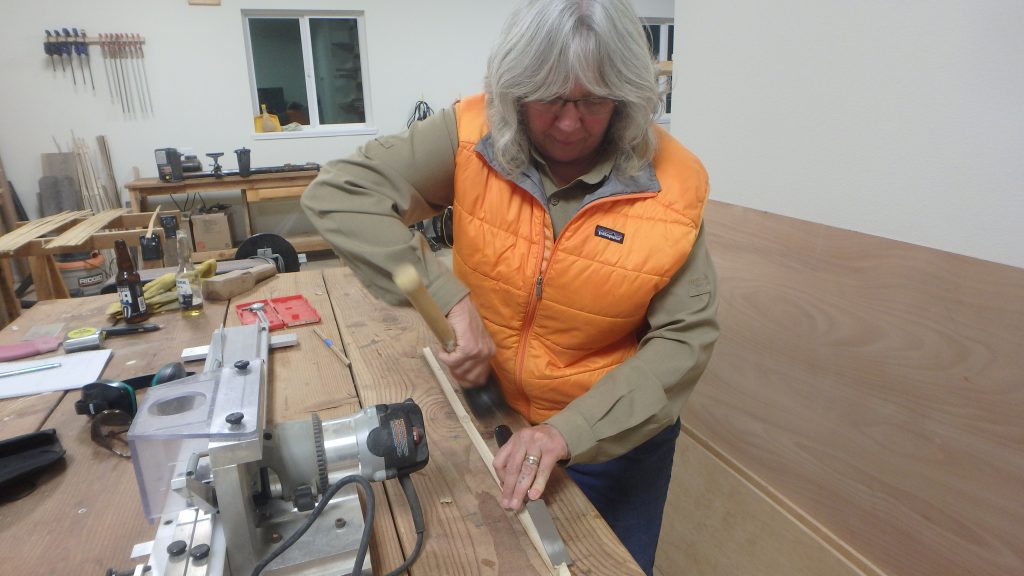
Removing the interior node material
Tomorrow – I will heat treat the bamboo and split the pieces one more time.

Comments are closed